![]()
A Pair of T-54/55s: PST & ACE
Finally there are two
polystyrene kits of the T-55. Ace appeared first, it is limited run
injection as are all Ace kits. A few months later came PST's effort. I
reviewed ACE's Gvozdika already and I foolishly said that ACE's quality
seems to be improving. Ace's T-55 is a step backward. Despite that, these
have sold like the proverbial hotcakes, proving that there is definitely a
demand for an injection kit of the T-54/T-55 family. That's what PST
thought too, so they have rushed their T-55 into production, making a few
blunders in the process.
V Compared ACE's kit is a T-55. They came with further
variants, T-54, T-59 and OT-55 later. PST has released two kits: one is a
T-55, the other makes a T-54 or a T-54A. The T54 is identifiable by the
10-spoke wheels, plain gun tube, DShK machine gun for the commander. The
T54A uses a different gun with fume extractor at the muzzle. This gun is
also used on the T-55, which has "starfish" pattern wheels, DShK
not used, and a different turret. Both turrets and guns are supplied in
each PST kit, but no spare road wheels, so whichever one you want buy the
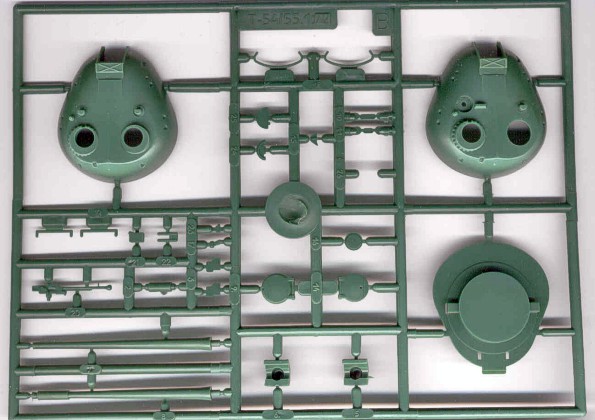
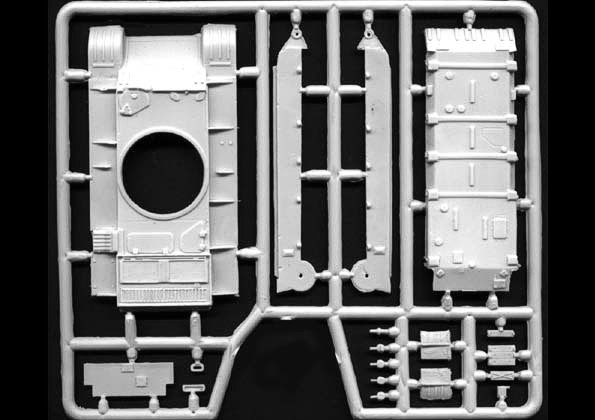
right one. Parts breakdown: The breakdown of parts is very similar for both ACE and PST. I guess
form follows function. Both kits have a lower hull comprising of belly,
sides and rear. 10 separate swing arms are attached, and the road wheels
next. Both kits have link and length tracks, and a one-piece upper hull
that includes mudguards. Both kits have similar hull detail in the form of
fuel tanks and tool bins. The PST kits feature trunnion pieces to give an
elevating gun, on the ACE it's DIY. Molding: PST is the clear winner here, their kits are conventional
injection molding while ACE are limited run. The ACE kit does suffer from
poor molding. Fit of parts: A lot of work for the ACE kit. The very first step is
attaching the hull sides to the belly. Only a moderate amount of cleaning up
required. Next, to give the wheels somewhere to hang, are the swing arms.
These need a lot of fitting. By "fitting" I mean the trade
definition, removal of material by trial (dry assembly) and error to make A
fit B. The swing arms are supposed to have a rectangular peg or key on the
hull end to fit in the vertical slot in the belly, as you would expect from
ACE the pegs are sort of round, and the slots are half full of flash. Each
swing arm on the right side is further forward than the corresponding left
one, this stagger is normal for a vehicle with torsion bar suspension
(except Tigers and Panthers, incidentally). The axle ends of the swing arms
have to be level and aligned, and while the intention of the pegs and slots
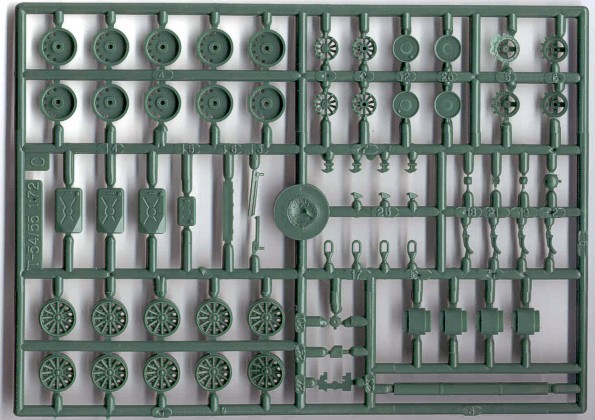
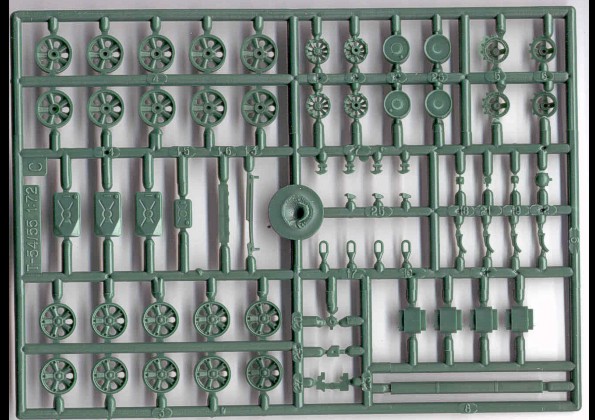
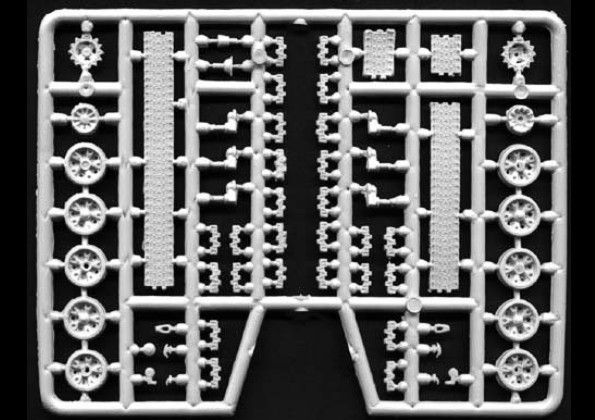
is just that, in practice you need to line them up by eye. The road wheels are somewhere inside huge amounts of
flash. There are 12 inners and 8 outers, not 10 of each. There are 2 small
hubcaps, to convert 2 of the inners to outers. Wheel preparation begins with
filing the back of the wheels flat. There are supposed to be 5 small holes
in each wheel, I put a 1mm drill through them to clean them up, and then
used a second drill bit as alignment pins to line up and glue the wheel
inner and outer back to back, clamped by a clothes peg. When set, there
followed lots of filing to get the pair circular. More drilling is required
in the back of the inner wheels because, you guessed it, this is too small
for the stub axle. By this stage a test fit on the stub axles was in order.
The last four road wheels on each side are supposed to be close (with no.1
spaced out more) but there was too much gap between wheels 4 and 5 and test
fitting of the sprockets showed that there was a problem looming. The
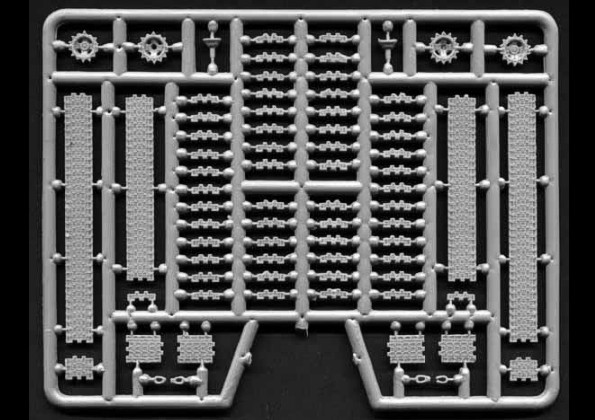
solution was to shift both no.5 swing arms forward. The tracks are the worst part of this kit. They vary in
thickness and there is no inner detail apart from the horns. To fit them to
the sprocket it is necessary to remove half the sprocket teeth. The rest of
the tracks aren't all that difficult. The rubber band trick works here too. The upper hull fitted ok on the sides, but there was a
big gap at the nose of the tank. The general technique is not to try to
clamp everything at once. Instead sneak up on it. Where the hull fits, it
gets glued. As long as that is in the right spot, fine. When set, force the
next section into place, glue and clamp it. PST's T-55 by comparison just about falls together. The hull belly/side
assembly is idiot-proof. The swing arms slot in where they are supposed to,
and you only have to check that the axles are lined up. The sprockets have
teeth on one segment only, these obviously have to be installed one way. One
problem I found was that the indexing of the sprocket halves was out 45
degrees, meaning that if the teeth on the inner were facing north, the teeth
on the outer would be facing north-east. Other reviewers have stated that
the design of PST's tracks aren't correct for the T-55. To be honest I don't
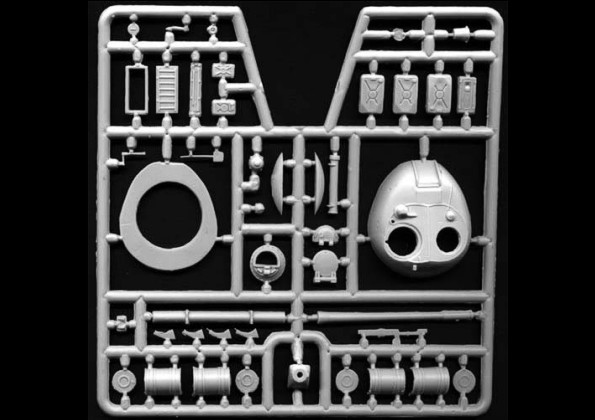
know, however the detail is better than ACE's tracks. Details: There are supposed to be handrails on the turret sides.
ACE's instructions say "make from copper wire". All you need is a
0.5mm drill bit, and a roll of fuse wire. There are dimples to tell you
where to drill, I drilled right through the turret. I then put a loop of
wire through the adjacent holes and bent the ends over. Easy enough. PST
supply handrails, I used these on the first PST I made, but used fuse wire
anyway on the next. It's just as easy and more robust. The rest is a matter of installing hull and turret
detail. The ACE T-55 has more spotlights than a hotted-up Hyundai. There is
a big one on the turret front, a smaller light beside it, one on the turret
rear and the commander has one of his own on the cupola. I found some photos
showing these two largest lights fitted with metal covers, so they will
appear the same color as the rest of the tank. There is also a stowage tube
which is supposed to go on the left side of the turret, but I found that
with this in place it makes it very difficult to install a turret number
decal, so the tube got left off. Two poor efforts on the PST are the 3 turret lifting
hooks and the commander's hatch. These hooks just aren't right, and required
a bit of carving to get in the approximate shape. The commander's hatch
looks like it came off a 1/144 kit. It is decidedly undersize. Lastly is
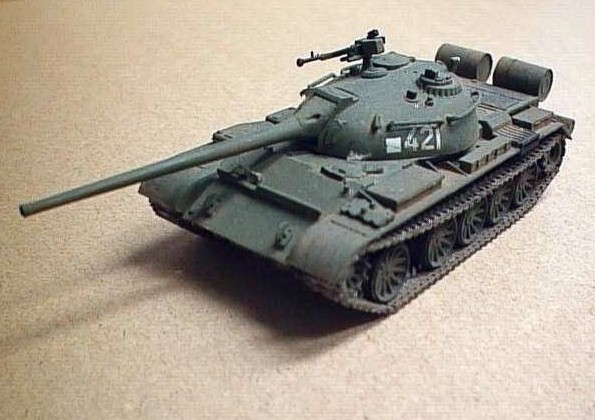
PST's main gun taper, the muzzle end looks a wee bit anorexic. Cam and Markings: We are talking post-war Soviet stuff here, don't expect anything
exciting. Any color you like as long as it's plain green with white turret
numbers. Or sand for a Gulf War A10 target. ACE's paint and decal options
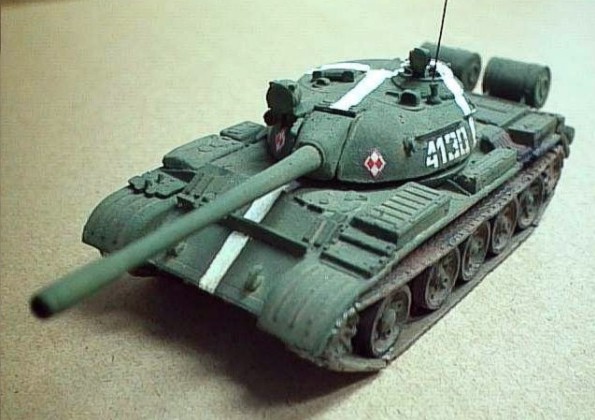
are pretty much just that, although there are some Arabic logos. Shown here
is a suggested scheme: Polish markings with the "hot cross bun"
treatment, as used in Czechoslovakia in spring, 1968.
PST also went for the plain green side of things, but
forgot to tell anyone where the decals go. Not like it's difficult to figure
out. Anyway they have subsequently put the decal instructions on their web
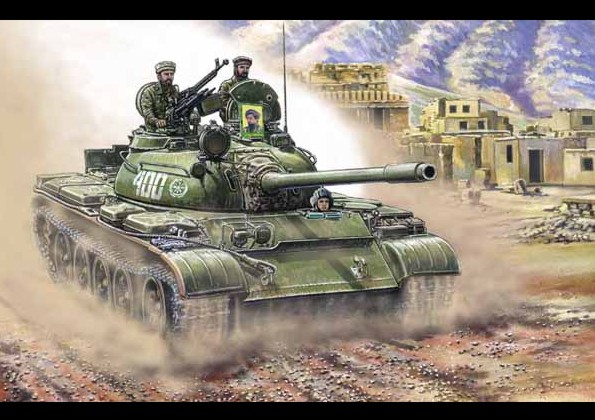
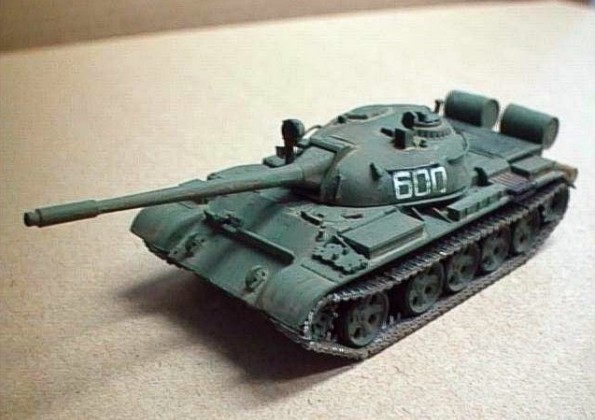
site. The 600 numbers are for an Afghan Northern Alliance tank; this was
back in the days when the Taliban nutcases ran the show and the rest of the
world had never heard of the place. C Overlord’s note:


T-54
PST
T-55 PST
/only wheels different from T-55/

ACE T-55 decal sheet
PST T-54
PST T-55
ACE - 55
Newer ACE kits include improved wheel and track sprues!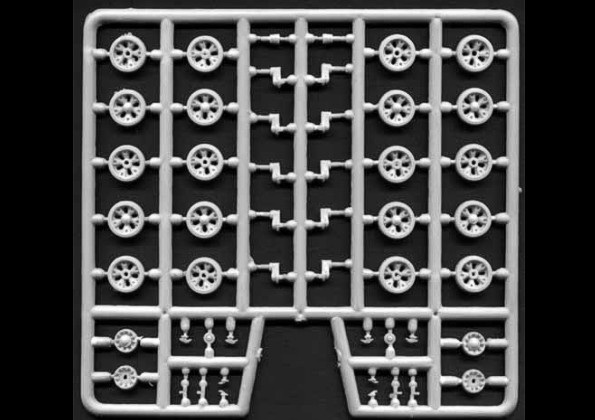
![]()